Introduction
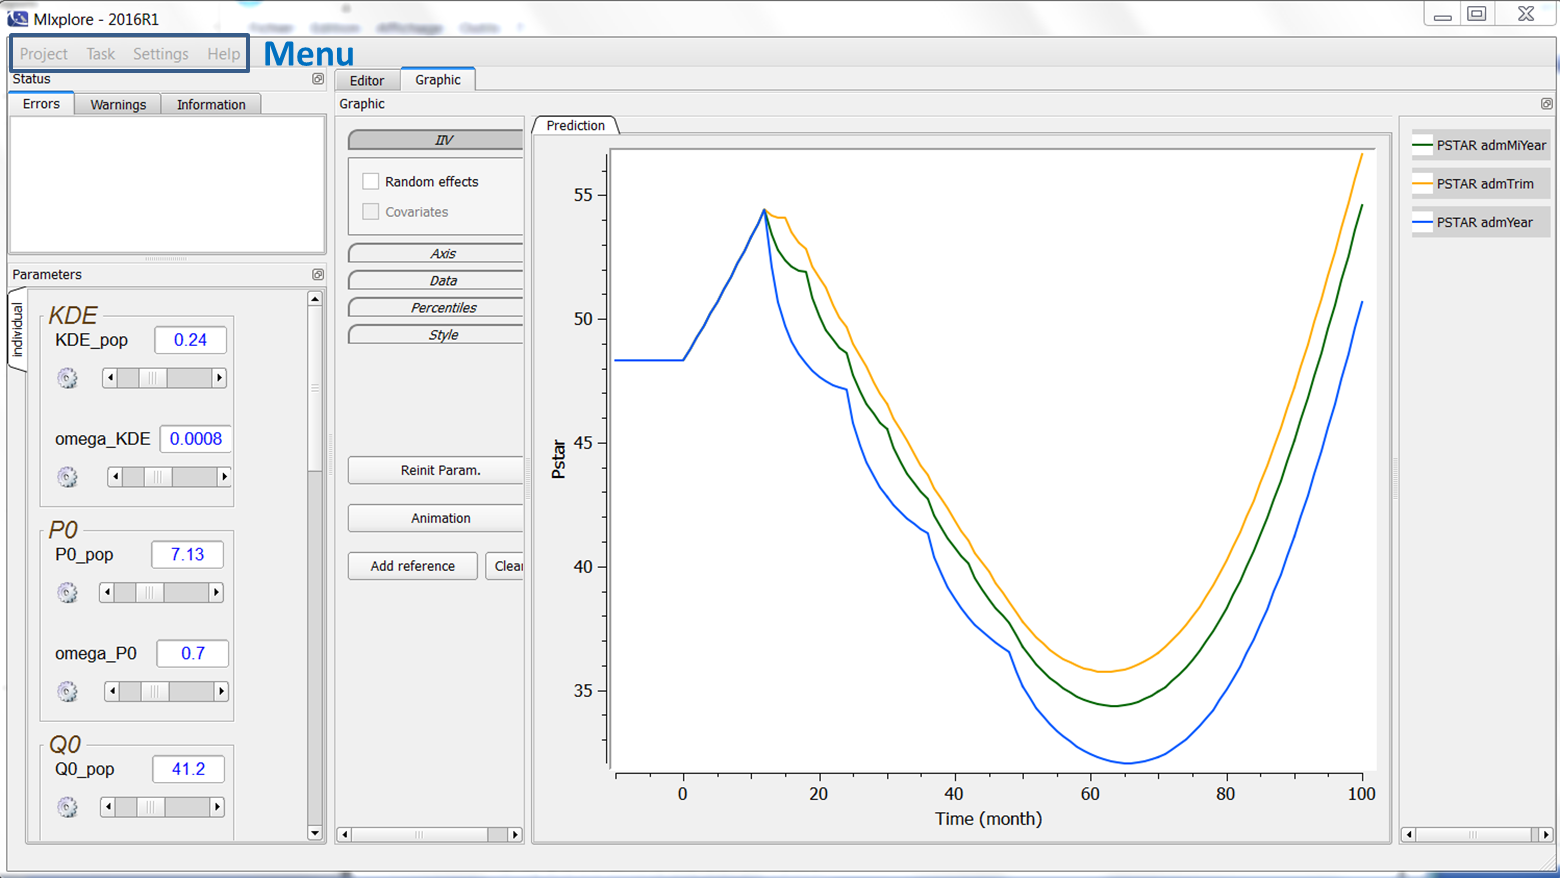
At the top of the Mlxplore main window, a menu bar is available, with submenus:
Project menu
The possible actions are defined in the following:
- “New”: creates a new project. There are three ways of creating a new project depending if you would like to define the model and the rest of the project separately or not. You can choose:
- “Model and Project in separated files”: In that case, the editor is split into two windows, one for the project and one for the model. This is particularly convenient when nothing is defined yet in your project. It allows you to work separately on the model construction and on the project definition. This is definitively the one we recommend.
- “Model embedded in the project”: In that case, only one window appears, to define both the project and the model. This is convenient when you want to have everything in the same file.
- “Project with existing model”: In that case, you load a model and two windows are created. One with the project and another one with the model you have chosen. This is particularly convenient when your model is already implemented and you want to explore it. Typically, this model comes from a Lixoft’s library or your own model library.
- “Load”: this allows you to load an existing project. If you try to load only a model file. A warning will appear. Notice that the user can load a project created by Monolix.
- “Save”: Saves the project.
- “Save as”: Saves the project as.
- “Close”: Mlxplore stays open but the current project is cleared.
- “Quit”: Quits Mlxplore.
- You can also load the past projects used by Mlxplore, that appear in the list.
Task
In this menu, you can:
- “Run”: run the project
- “Export figure”: export the figure. It can be done in .bmp, .jpg, or .png
- “Export table”: this exports a table of exploration results. A popup window appears to choose the folder. The table is saved as a .csv file with several columns. The columns are the ids, the times and the outputs.
- The id corresponds to the treatment number. If there are several treatments, they are defined in the table as several id (starting at id=1)
- The time is the time defined by the grid
- If no iiv is used, the output columns are the values w.r.t. time. If iiv is used, then each output is split in several values (the median and the percentiles defined by the number of band).
- “Export parameters”: this export a table of all the parameters. A popup window appears to choose the folder. The table is saved as a .csv file with two columns. The first one is the parameters name, and the second one the values.
Settings
In this menu, you can:
- “Display Editor”: Allow to hide/unhide the text editor window.
- “Display Status”: Allow to hide/unhide the status window (for errors and warnings).
- “Preferences”: Define the preferences (colors, fonts, etc) for the text editor, and choose the seed number.
Help
In this menu, you can click:
- “About”: gives the version of the software, along with the expiration date of the licence
- “Licence”: gives the terms of use of the software